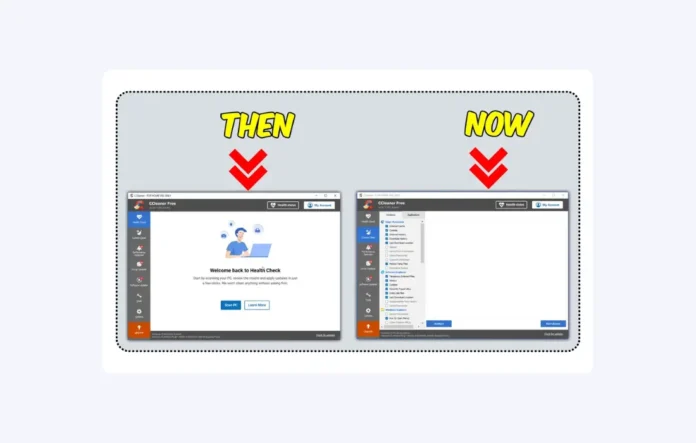
Are you using CCleaner to keep your computer fast, smooth, and secure? So in this post, I’ll explain how to switch health check mode to custom clean mode. It’s a great tool for removing temporary files, cookies, and junk files from your system. The best part about CCleaner is that it’s completely free for home users. It is available for various platforms including Windows, Mac, Android and iPhone. It is alos known globally for its powerful features. (See: How to Make Windows 10 Speedy)
However, I have to say, the new user interface can be a bit frustrating. When you open CCleaner, it defaults to the Health Check home screen, which only shows the “Scan PC” button. Not exactly what we’re looking for, right?
How to Switch Health Check Mode to Custom Clean Mode
But don’t worry! You can easily set Custom Clean as your default home screen. Here’s how:
- Open CCleaner and select Options.
On opening the CCleaner app on your computer. You will see the Health Check screen by default. In the CCleaner interface, look for the Options menu. This is usually located in the left sidebar. Click on it to open the options menu.
- Go to Settings.
Once you’re in the Options menu, go to the Settings tab. Here, you can customize different features of CCleaner to suit your needs.
- Set Custom Clean as your default home screen.
In the Settings tab, you will find an option to set your default home screen. Look for the option that allows you to choose between Health Check and Custom Clean. Select Custom Clean as your default home screen.
Now, when you close and relaunch CCleaner, you’ll see the Custom Clean screen by default. From there, just click on the Analyze button, followed by Run Cleaner to remove those pesky temp files, cookies, and junk files from your computer.


